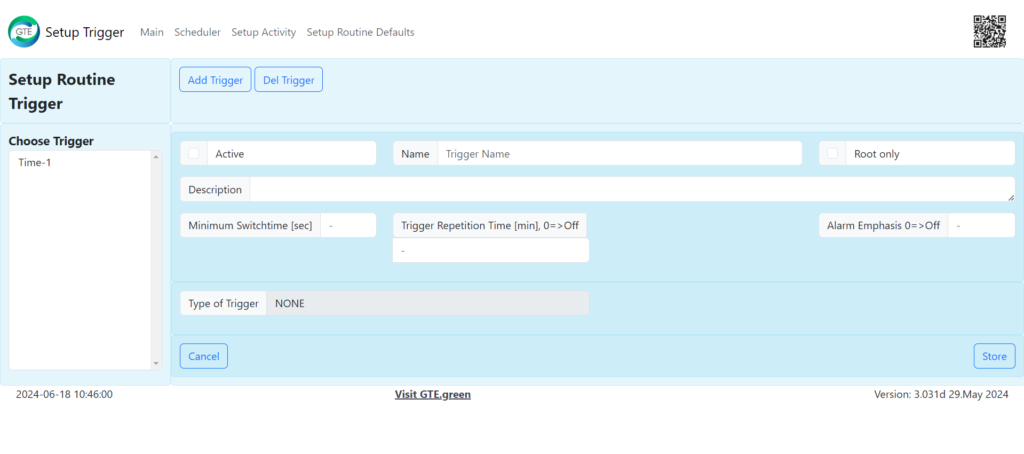
On the left side you can choose your triggers, if no triggers appear you have to click ‘Add Trigger’. You can give the trigger a name as well as a description. You can also activate or deactivate your trigger. Besides that there is a box where you can set a checkmark to Root only. Now just the root can see it. To save your settings, click on store, to clear your settings press the cancel button.
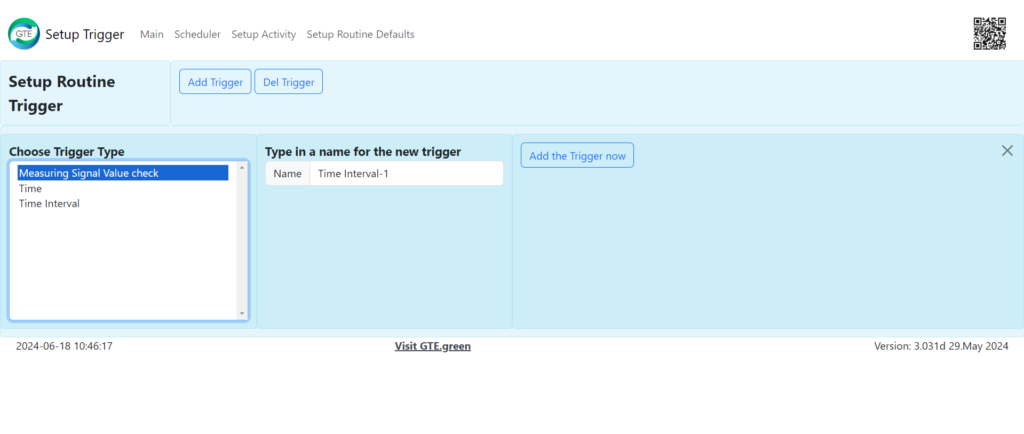
After you click on ‘Add trigger’ you can choose from different types of triggers. There is the Measuring Signal Value check, Time and Time Interval. When you have choosen the type you can type in a name for the trigger, the last step is to click on ‘Add the Trigger now’
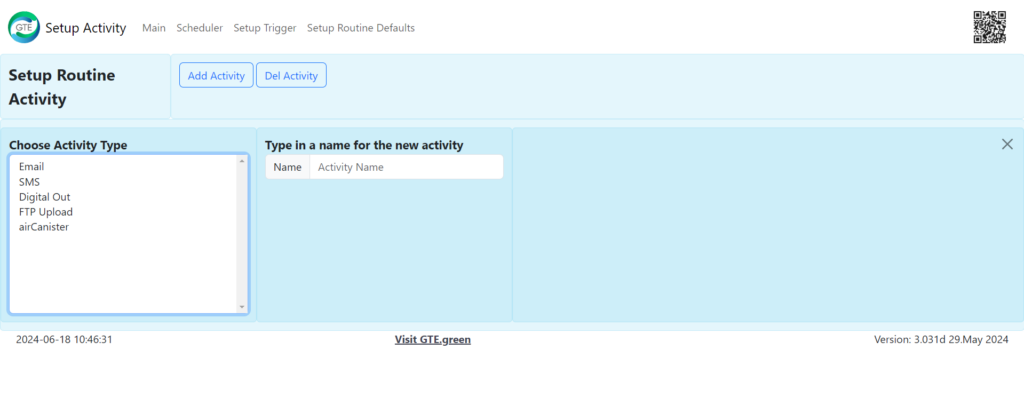
On the field Setup Routine Activity are nearly the same options as on the Trigger Setup. Activation can be set, as well as a name could be typed in. To add an activity click on the button on the top.

You can choose from Email, SMS, Digital Out, FTP Upload and airCanister.
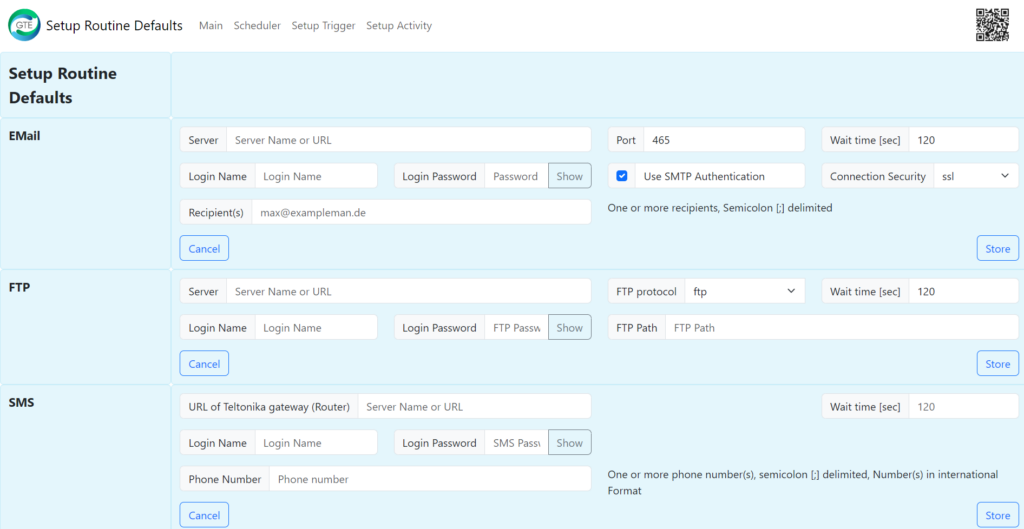
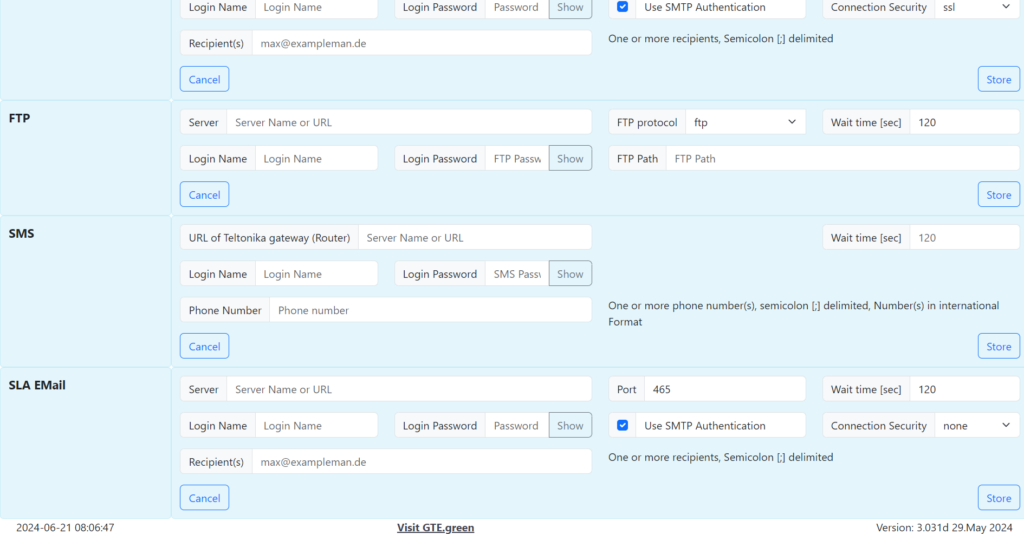
On the Defaults you have to type in the Server Name and the Login Information on every Activity. After that there is different information required on the different Activities. For example the FTP Path, the Phone number or Email address. To save the settings, click on store.